Hero Introduction
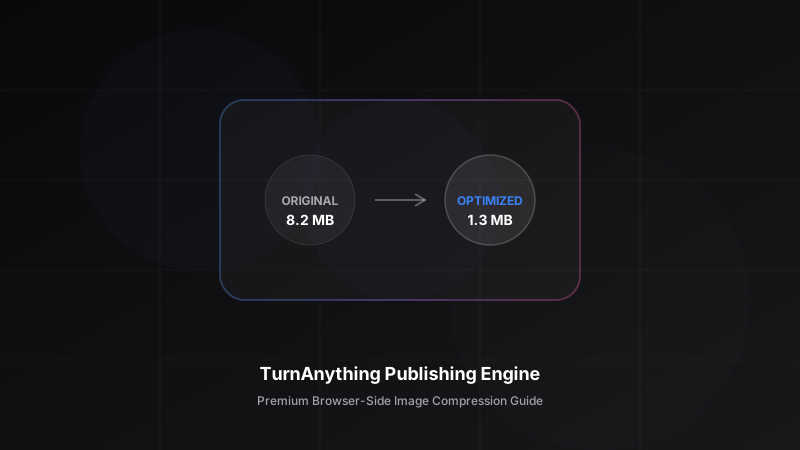
Your 8 MB photo probably doesn't need to be 8 MB.
Whether you are uploading images to your website, sending them through email, or trying to stay below a strict file upload limit, you are probably wasting valuable bandwidth.
The good news?
Most images can become 60–90% smaller without anyone noticing the difference.
This guide walks you through how to compress images locally in your browser, maintaining pixel-perfect clarity without uploading sensitive photos to remote servers.
Quick Answer
To compress images without losing quality, draw the image onto a local browser <canvas> element and export it using a WebP or JPEG format with a quality factor set between 75% and 85%. This reduces file size by up to 70% while keeping visual changes completely invisible to the naked eye.
Table of Contents
- The Problem with Large Images
- Step-by-Step Solution
- Why Local Compression Works
- Common Mistakes to Avoid
- Frequently Asked Questions
- Related Tools
- What's Next?
The Problem with Large Images
Uncompressed images contain massive amounts of redundant data. Camera sensors capture high bit-depth pixels, complex metadata, and color spaces that aren't necessary for digital displays.
When you upload these files directly:
- Pages load slowly, harming your search engine rankings.
- Users on limited mobile data suffer laggy interfaces.
- Traditional cloud compressors store your uploaded photos on third-party servers, posing a security risk for contracts, personal IDs, or private screenshots.
Step-by-Step Solution
You can perform image compression on your device instantly. If you would rather skip the manual process, our Image Compressor performs this workflow locally in your browser.
Here is how to do it step-by-step:
Upload Your Image
Select the image you want to optimize. Drag and drop it into the upload zone.
src: /articles/how-to-compress-images/upload.svg caption: Upload interface
src: /articles/how-to-compress-images/quality-slider.svg caption: Quality slider
For websites, 80% JPEG quality is usually impossible to distinguish from the original while reducing file size dramatically.
src: /articles/how-to-compress-images/comparison.svg caption: Before vs After comparison
src: /articles/how-to-compress-images/download.svg caption: Download button
Why Local Compression Works
Instead of transmitting files to a backend server, browser-side tools process them directly on your CPU using HTML5 Canvas elements.
Original Image
     ↓
Browser Processing (Canvas)
     ↓
Compression (Color blocks optimized)
     ↓
Download (Local saving)
By drawing the image onto a canvas grid, the browser can re-encode the pixel data locally using lossy settings that throw away metadata and imperceptible color details.
| Metric | Original | Compressed |
|---|---|---|
| File Size | 8.2 MB | 1.3 MB |
| Upload Speed | Slow | Fast |
| Sharing Ease | Hard to email | Easy to share |
Common Mistakes to Avoid
Common Mistake
Compressing already compressed files. Re-compressing lossy JPEGs creates noticeable compression artifacts (blocky noise). Always use the original high-resolution file.
Best Practice
Use WebP by default. WebP (see the MDN Web Docs WebP image format specification) maintains transparency layers like PNG but yields significantly smaller files.
Frequently Asked Questions
How does this compressor keep files private?
Because all conversions execute locally inside your browser, the images are parsed into RAM, compressed, and downloaded directly. No data is sent to external servers.
Can I batch-compress multiple files?
Yes. You can drag multiple files into the dropzone to queue and process them in parallel locally.
Related Tools
If you need to change your image extension or bundle them together, you can find these tools helpful:
- Image Converter: Reformat files to WebP or PNG.
- Image to PDF: Combine multiple images into a single PDF document.
What's Next?
Now that you have compressed your image to a reasonable file size, you can take these next steps to complete your workflow:
- Convert WebP/JPG images to PDF for easy sharing as a single document.
- Extract text from the image using our local OCR tool.
- Remove the background to isolate your main subject.